You’re in the bathroom mirror, hair still damp, and the front keeps collapsing the second you try to push it up. That’s the moment you might think a stronger product is needed. Usually, a better shape, a cleaner section, and a calmer hand are the answer.
The brush up hairstyle works because it’s sculpted, not forced. The goal is controlled lift at the front, enough support through the top to hold that height, and enough restraint at the sides that the shape doesn’t turn into a puffed-up mess. Once you see it that way, the style gets much easier to read, cut, and maintain.
What the Brush Up Hairstyle Actually Is
A good brush up starts with one simple idea. The hair is lifted forward and upward, then guided back just enough to create a tall front edge without flattening the crown. It’s close enough to a quiff to confuse people, but the brush up is usually cleaner through the sides and more obviously built around vertical lift than a loose, swept shape.
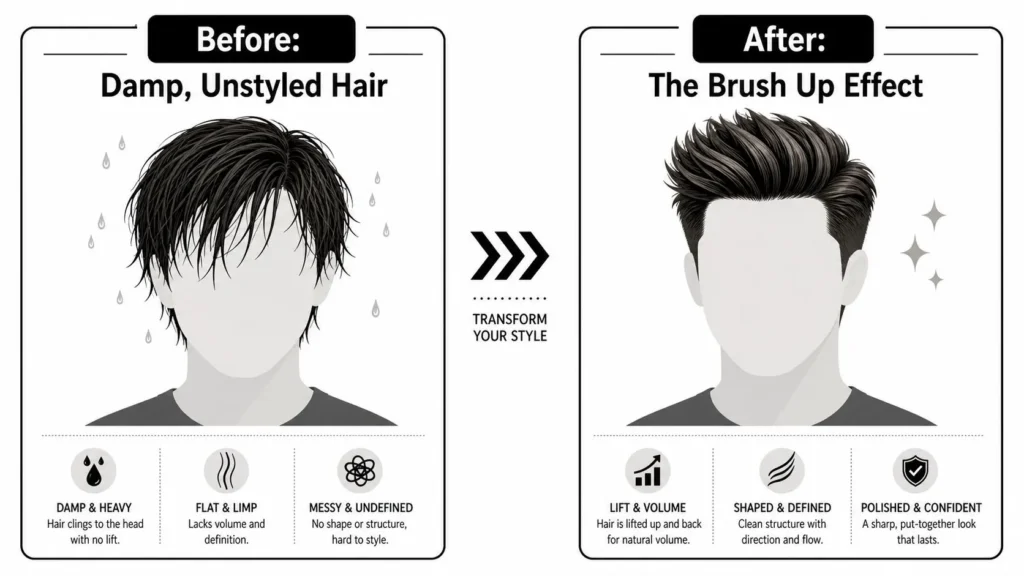
The style has deep roots. The brush up is a modern descendant of the pompadour, a style named after Madame de Pompadour (1721–1764) and defined by hair swept upward and worn high over the forehead, often with added volume at the sides and back. That history matters because the look isn’t a random internet invention, it’s a modern version of a long-running volume pattern that still makes sense on real heads today.
Brush Up vs Quiff vs Pompadour at a Glance
| Style | Direction of lift | Typical length on top | Best for |
|---|---|---|---|
| Brush Up | Up and slightly back | Short to medium | Controlled height and clean shape |
| Quiff | Forward then back | Medium | Softer, looser movement |
| Pompadour | High and rounded over the forehead | Medium to longer | More dramatic volume |
A brush up can work on a lot of face shapes because it changes the silhouette without needing a dramatic length commitment. It’s especially useful if you want more presence up top and less bulk at the sides, or if your hair naturally grows flat at the front and needs direction. For readers trying to disguise a receding edge, a useful companion guide is how to hide a receding hairline, because the haircut and the styling strategy need to support each other.
Practical rule: if the front looks high but the crown collapses, it’s not a brush up. It’s just hair that got pushed upward without a shape behind it.
Prepping and Styling the Brush Up at Home
The mirror test starts before the dryer does. If your hair is dripping wet, the roots are too heavy to hold lift. If it’s bone dry before product goes on, you lose the ability to shape the bend at the root, which is exactly where the brush up gets its structure.
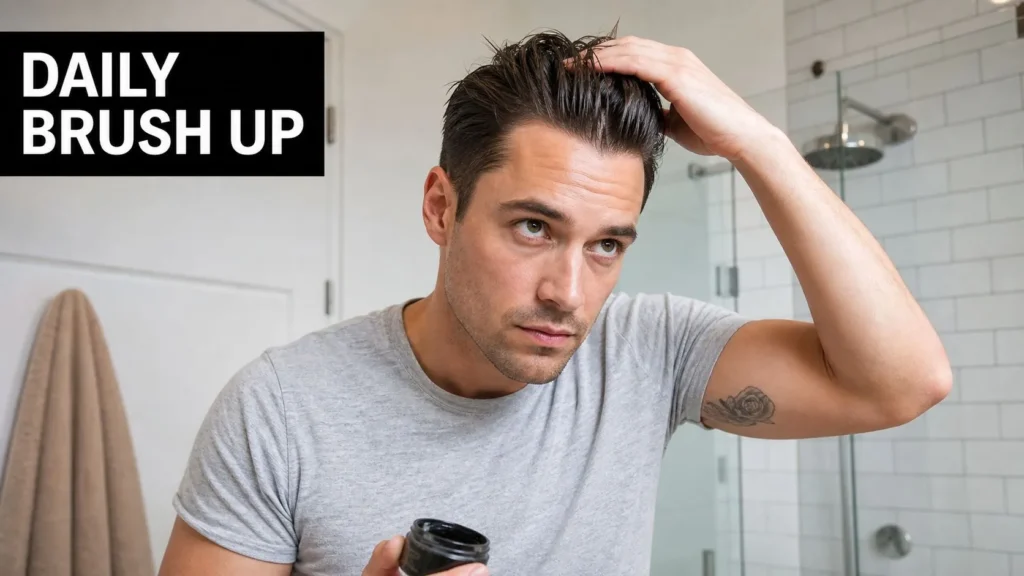
Start with slightly damp hair, then work a lightweight volumizing or hold product through the top. A good routine keeps the product even, not piled at the front, because the roots need support all the way back through the crown. The most repeatable method is to lift with a brush or fingers while directing upward airflow, then finish with cool air and a light matte clay, wax, mousse, or hairspray to hold the shape, as described in this styling guide for a textured brush up.
A simple way to keep the process clean is to divide the top into small working areas. Keep each section around 1 to 2 inches thick so the brush can control the hair instead of skating across it. If you’re using a round brush, work in a size that matches the section, because a brush that’s too wide won’t give the roots enough bend.
Practical rule: three controlled passes per section is usually enough to set the bend. If you keep chasing the same piece, you’re usually taking volume out of it.
A clean morning sequence
- Towel-blot first. Stop when the hair feels damp, not saturated.
- Apply product lightly. Warm it between your palms and spread it evenly.
- Lift from the root. Use the brush to pull up and slightly back while the dryer follows the brush.
- Set with cool air. That helps the lift stay in place instead of sagging as the hair cools randomly.
- Finish with a touch of hold. The goal is a shape that survives a quick head shake, not a shiny shell.
If you want a brush that behaves well with damp hair, a practical comparison of brush styles is covered in this guide to the best brush for wet hair. The point isn’t to buy more gear. It’s to make the airflow, brush tension, and product amount work together instead of competing.
Cutting Guidance for Barbers and Home Cutters
A brush up works best when the haircut gives the front a clear shape to rise from. If the top is left too broad, the style can puff out, then lose its outline once the hair settles. The goal is a narrow ridge of hair that can be directed upward, not a wide sheet that fights the brush.
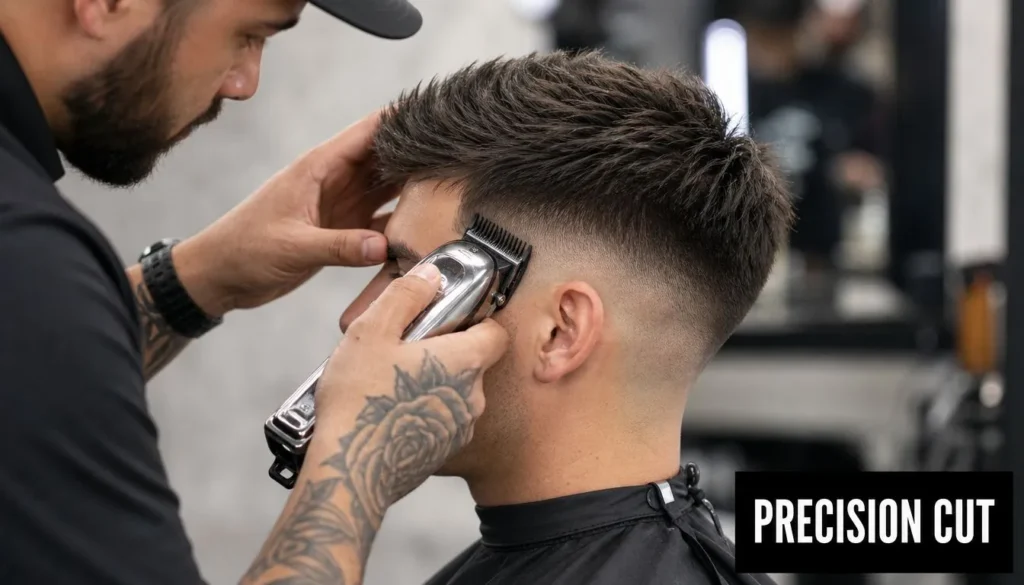
The cut should build that ridge on purpose. Start with a narrow mohawk strip about 0.5 inch wide running from the crown to the front hairline, then shape the top in vertical sections with point-cutting so the ends stay textured instead of heavy. That texture matters because the brush up is a sculpting problem, hair has to be light enough to bend upward, but still have enough body to hold a line. For a barber, the clean sequence is simple, set the shortest side length first, establish a center guide on top, then work outward in matched vertical sections so the balance stays even from front to back.
The crown needs special attention. If that area is cut too wide or left too full, it pushes back against height the same way a thick hinge resists being opened, and the front loses lift. A tighter crown line gives the style somewhere to stand.
What to ask your barber for
- Keep the top narrow: ask for a slim top section that can stand up cleanly.
- Add texture, not blunt weight: point-cutting keeps the top from turning into a flat sheet.
- Tighten the sides: a fade or taper keeps attention on the lifted front.
- Protect the crown line: the crown should support height, not add width.
Home cutters should stay conservative, especially around the top. The biggest mistake is carving out too much width, because once that shape is gone, the hair has less control and the brush up becomes harder to balance. A sharper side profile also helps the front read higher, even if the top itself is not especially long.
For hair that is dense, wavy, or curly, the cut needs even more restraint. Thick hair can look tall at first and then spread sideways if the interior is left bulky, so the top has to be lightened from within, not just shortened on the surface. Wavy hair usually behaves better with texture that follows the grain, while curls need enough length to keep their shape without forming a puffed edge. If the hair is coarse and resistant, a smoother cream can help during styling, and a useful reference for that kind of finish is this hair cream guide.
For a barber-side breakdown of styling categories, use compare pro barber styling breakdowns as a reference point.
Choosing the Right Products and Tools
The best product choice depends on what your hair already does on its own. Fine hair usually needs lift without weight. Thick hair usually needs control without making the front stiff. If you start by matching the product to the hair type, you avoid the common trap of using heavy wax on hair that collapses, or using airy mousse on dense hair that ignores it.
The easiest way to think about it is by finish. Matte clay gives grip and a dryer look, pomade gives more polish and separation, mousse helps with body at the root, and a light hairspray finishes the shape without turning it rigid. For more barber-side breakdowns of styling categories, the discussion at Salute The Barber Movement’s pomade guide is a useful point of comparison.
Product Match by Hair Type
| Product type | Hold level | Finish | Best hair type |
|---|---|---|---|
| Matte clay | Medium to strong | Low shine | Straight or slightly thick hair |
| Pomade | Light to medium | Natural to shiny | Hair that needs separation |
| Volumizing mousse | Light | Soft, airy | Fine or flat hair |
| Light-hold hairspray | Light finish hold | Natural | Most hair types as a topper |
Tools matter just as much. A vent brush is good for quick lift and airflow, while a round brush creates a more controlled bend. Shorter hair usually responds well to a brush around 2.5 cm in diameter, and longer hair can move to a larger barrel as length increases. Pair that with a dryer that has a concentrator nozzle and a cool-shot button, and you’ve got the basic setup for a cleaner brush up.
If you want a simpler product base that won’t bully the hair into place, this hair cream guide can help you think through softer control options. The main rule is still the same, use enough product to support the root, not enough to drown it.
Adapting the Brush Up for Different Hair Types and Face Shapes
A brush up only works well when the cut and the styling method match the hair in the chair. Straight-up heat and a quick blast can flatten waves, stretch curls, and leave thick hair puffed at the ends while still soft at the root. The better approach is to build height the way a barber builds a shape, section by section, so the top stands up without wiping out the hair’s natural pattern.
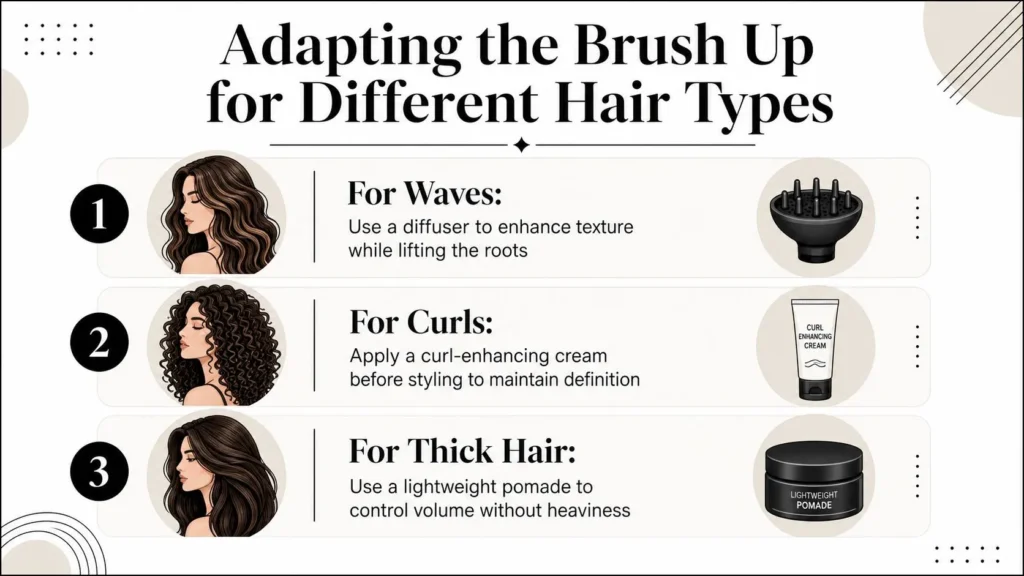
Recent styling guidance for waves and curls favors horizontal brushing with controlled tension, plus scrunching and setting the style without flattening the root, rather than forcing every strand straight up. That means you are shaping the top into height while leaving enough room for the pattern underneath to keep its character. A brush up is a sculpting problem, not a force problem.
For waves, use enough tension to lift the root, then stop before the bend disappears. If you drag the section too hard, the wave pattern gets stretched and the top starts to look dry instead of full. With curls, keep the brush movement controlled and avoid repeated passes over the same area, because curls usually respond better to shaping than to constant reworking. Thick hair needs a different kind of help, the cut has to remove enough bulk at the top so the hair can rise instead of swelling outward. Straight hair usually needs more root support and a careful cool-set, since it does not naturally hold that lifted shape on its own.
Face shape changes the finish as well. Round faces usually handle a little more height through the top because it adds length to the profile. Square faces often look cleaner when the sides stay tighter, since extra bulk can make the head look boxy. Longer faces usually need restraint, because too much height can stretch the shape even further.
Keep the goal visible at all times, height in front, support at the crown, and enough restraint at the sides that the silhouette reads intentional.
The mistake that shows up most often on textured hair is trying to erase the natural pattern to get a sharper outline. That may look neat for a short while, then the hair pushes back with frizz or collapse. A better brush up works with the grain of the hair, not against it.
Troubleshooting Common Brush Up Problems
A brush up usually falls apart for the same few reasons, and the fix is easier when you read the problem like a sculptor reads the clay. If the front will not stay up, start at the base. The roots may have been too wet, the product may have been too heavy, or the brush may have crossed the same section again and again until the shape lost its support. Over-wetting or overloading with product is the most common mistake, because it pulls the roots down and makes you keep working the hair after it has already started to settle.
A flat crown tells a different story. The lift never reached the base, so the top sits down instead of standing with shape. A stiff, helmet-like finish usually points to too much product, too much heat in one pass, or both. Frizz and flyaways often show up when textured hair is brushed too hard, especially when every strand is pushed into the same direction instead of being guided into place.
Read the symptom, then fix the cause
- Flat at the crown: stop adding water, lift the roots first, and aim the dryer upward so the shape sets from the base.
- Too stiff: loosen the surface with your fingers, then switch to a lighter finish product.
- Frizz at the edges: reduce brushing pressure and let the hair set in smaller, cleaner sections.
- Uneven shape: reset only the front section, then refine the outline instead of rebuilding the whole head.
Some hair types need a more careful hand here. Waves usually need enough control to build height without dragging the pattern out of shape. Curls respond better to shaping than to repeated passes, so if the brush keeps chasing the same spot, the curl pattern can lose its clean edge. Thick hair often needs the cut and the styling to work together, because extra bulk at the top can push the style outward instead of letting it rise. Straight hair often needs more root support and a clean cool set, since it does not hold that lifted shape on its own for long.
If the style starts slipping during the day, do not soak it again. A small amount of dry product, then a quick lift with the hand at the front, is usually enough to bring the silhouette back. If heat has left the hair feeling dry or rough, a supportive routine like this keratin treatment guide can help you keep smoothness without flattening the volume.
The useful habit is simple. Keep the shape in mind, then correct the weak point instead of starting over. A brush up holds better when you treat it like a form that needs maintenance, not a look that has to be rebuilt from zero every morning.
Keeping the Look Sharp Between Barber Visits
A brush up looks best when the cut and the styling rhythm stay in sync. As the top grows out, the shape can lose its clean front edge, so regular trims matter more than piling on extra product. That’s also why the grooming business around hair stays active, the U.S. Bureau of Labor Statistics projects 575,200 hairdressers, hairstylists, and cosmetologists in 2024, rising to 607,400 by 2034, an increase of 32,200 jobs or 5.6% according to the projection referenced here.
For home care, keep the maintenance simple. Use a light dry product to refresh day-two or day-three hair, and avoid shampooing so aggressively that you strip away all the natural body the style needs. If your hair tends to feel dry or rough after frequent heat styling, a supportive routine like this keratin treatment guide can help you think about smoothing without crushing volume.
The best mental model is short and practical: damp roots, upward airflow, cool set, light product. If one of those four pieces is missing, the shape usually shows it.
Keep this model on your phone the next time you’re in the mirror, then compare your result against the shape you want. If you’re rebuilding your routine, visit maxijournal.com for more clear, practical beauty and grooming guides you can use at home.
Discover more from Maxi Journal
Subscribe to get the latest posts sent to your email.